

How To Install Plastic Snap Buttons
How to Install Plastic Snaps: common mistakes and how to fix them
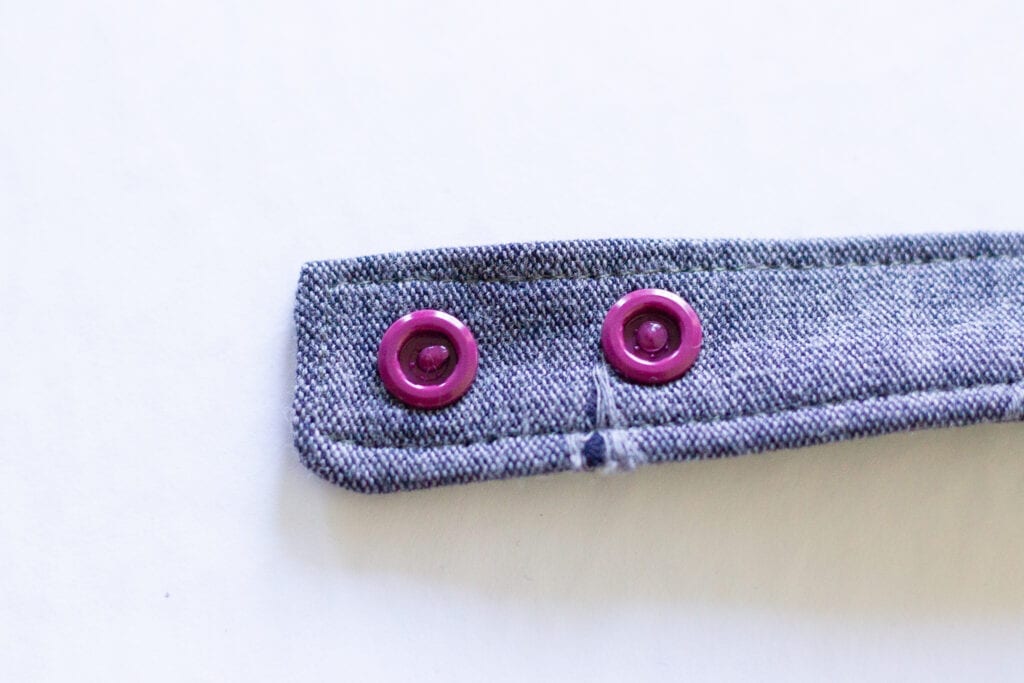
We recommend Kamsnaps plastic snaps, in size xx for most projects. Size 16 are easier to open and would be recommended for things similar onesies. But for the projects I've listed above, size 20 is best. The hand press is the most affordable tool to become started with, but also the trickiest to master - still, the tips below volition help you lot use it similar a pro, with no more snaps coming apart! Notation: if you do non have much strength in your hands/wrists, I would recommend the tabular array printing instead - it is pricey merely easier to use, and requires a lot less strength. It is so like shooting fish in a barrel to become focused on pressing HARD, that yous don't realize you are pressing HARD AND Tedious. To printing the centers of your snaps enough for them to stay together, yous must press HARD AND FAST, in one swift motion. Information technology helps to caryatid the bottom of your pliers on a flat surface. The first motion-picture show below shows two snaps, the left one was pressed slowly, and the right one was pressed fast. Y'all can run across the the correct center is smushed much more, and the plastic has spread wider and volition keep that snap together. The left 1 will likely come autonomously with utilise, as you tin can see in the second picture below. This results in the center existence smushed to one side, every bit shown below (in the left snap). This snap is also likely to come up apart. The above solutions should prepare any state of affairs where snaps are coming apart with utilise. Even so there is ane more common upshot I would like to mention. This more often than not happens with sparse fabrics that fray hands, and/or stretchy fabrics. I promise you notice these tips helpful - I love working with my snaps on all kinds of projects! Kamsnaps can be purchased from their website directly (www.kamsnaps.com) or one of the many retail stores that stock them. In Canada, I recommend Blackness Rabbit Fabric.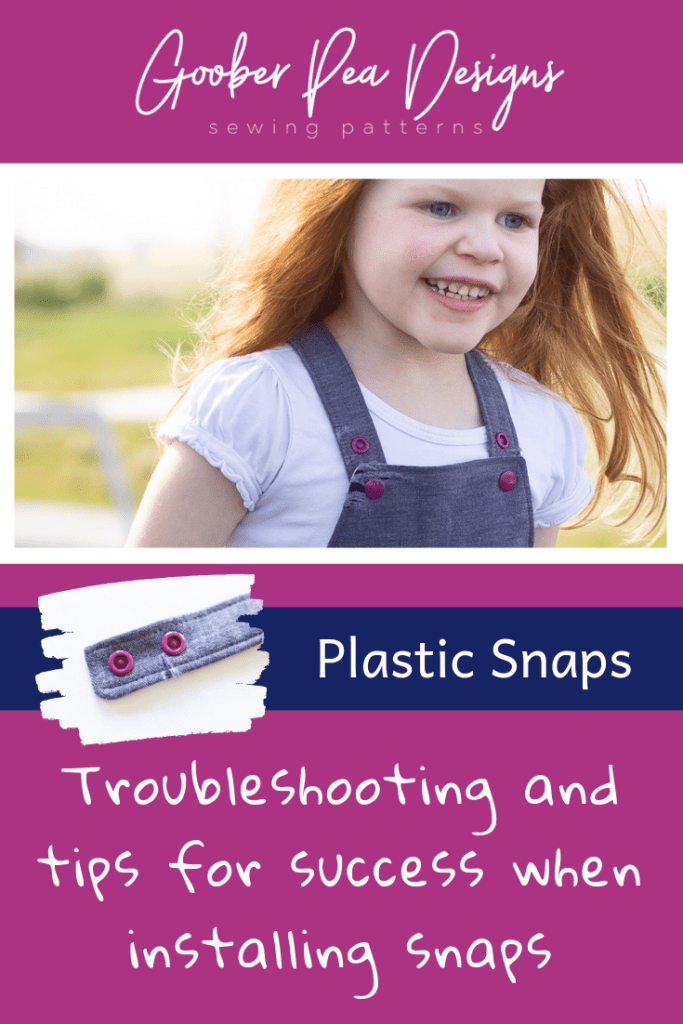
Showtime of all, what snaps and tools do we recommend?
The NUMBER ONE almost common mistake I have come up beyond, is pressing too slowly.
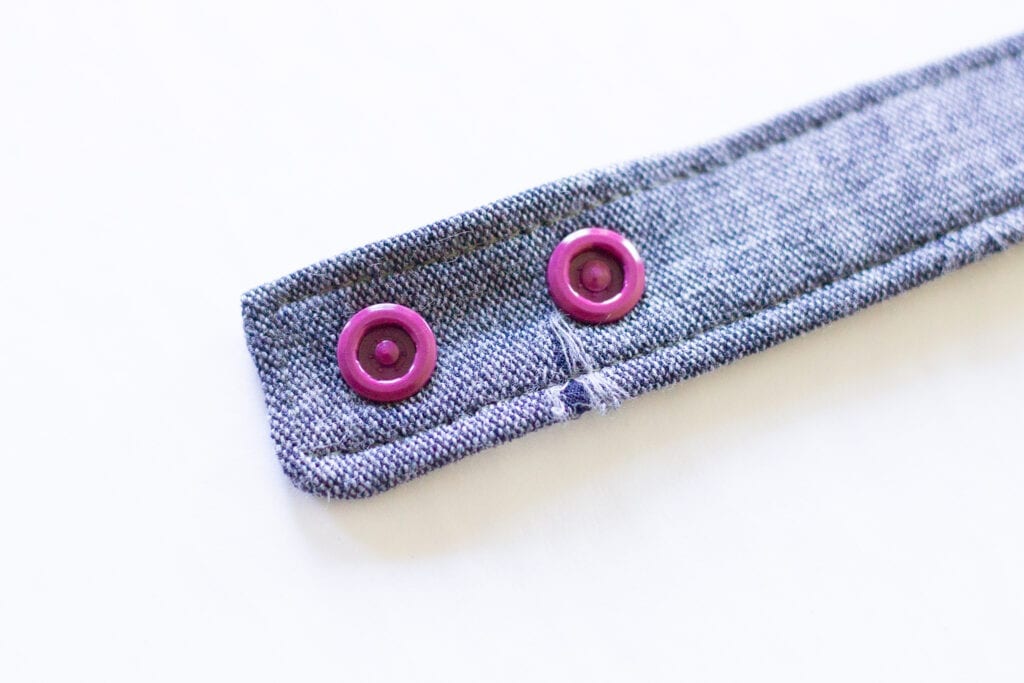
Another common mistake is pressing slightly off-kilter (non keeping the press straight while pressing).
If yous are pressing Hard, FAST, AND STRAIGHT, and your snaps are notwithstanding coming apart, it may be due to the thickness of your fabric.
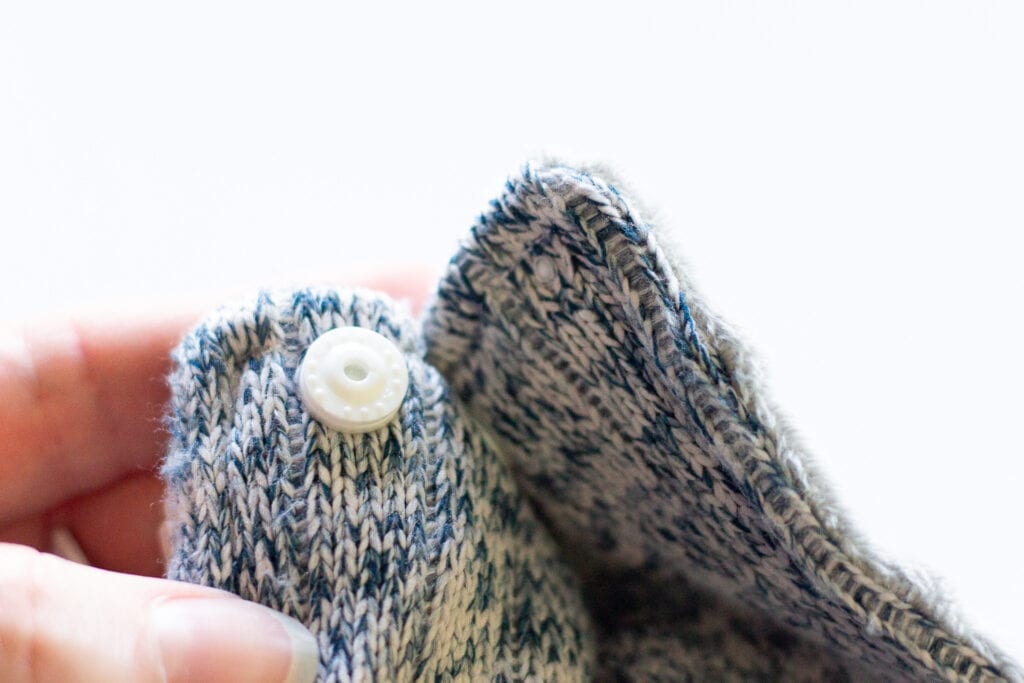
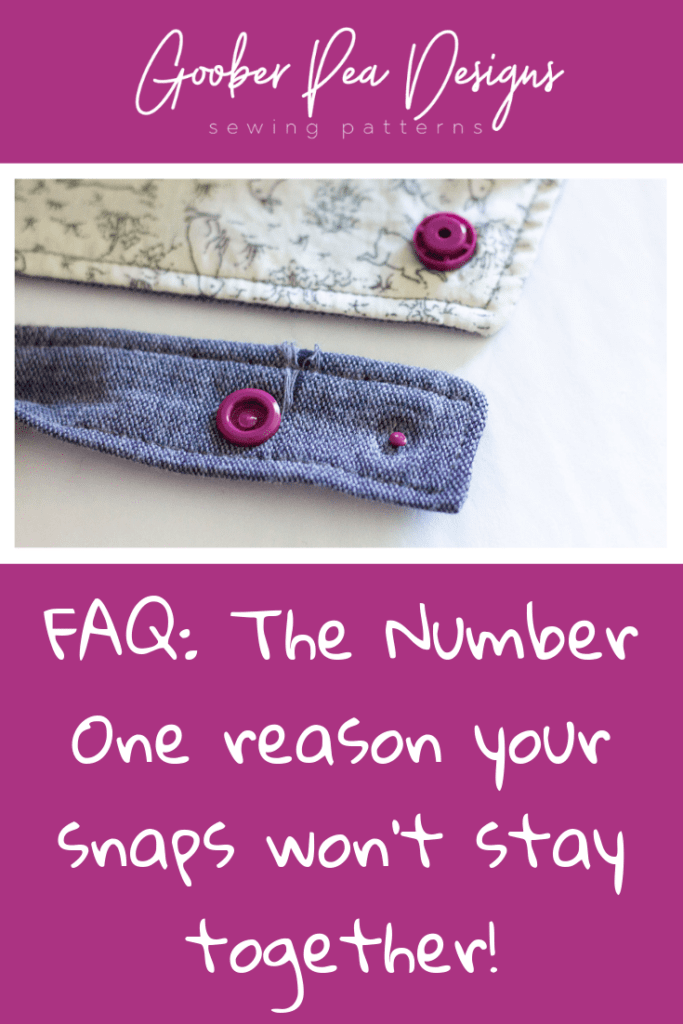
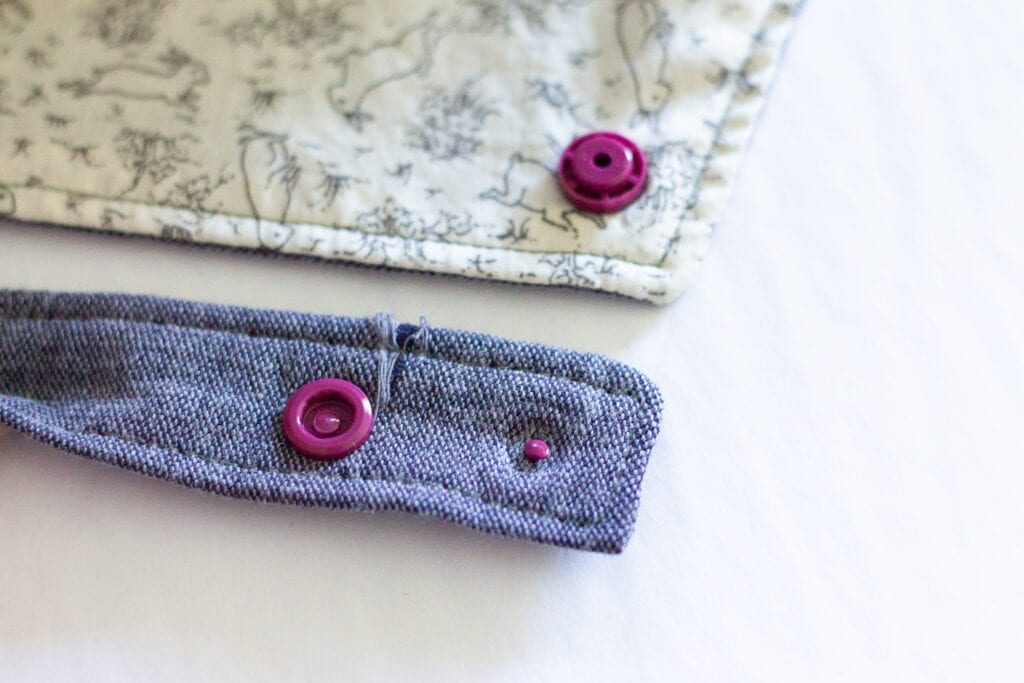
With certain fabrics, sometimes the snaps volition actually rip right through the textile and come up out, though the snap itself is still together.
Here are some tips to avert this:

Source: https://gooberpeadesigns.com/how-to-install-plastic-snaps-common-mistakes-and-how-to-fix-them/
Posted by: perezshoursted.blogspot.com
0 Response to "How To Install Plastic Snap Buttons"
Post a Comment